Friday, April 22, 2016

The Continental Shift Sale is ON!

The shop-wide Continental Shift Sale is on now! Everything in the shop is 15% off because I am moving to Germany soon! The shop will not re-open in time for 2016 holiday shopping, so if you see something that will work for your gift list, you'd best get it now. There is still a good selection to choose from, for example:

pretty taupe geometric pillow cover

sparking 60" table runner

father's day grilling apron with matching towel
pretty embroidery hoop wall art
snack bag sets

Have fun shopping!

Thursday, March 26, 2015

Working in the Cloud

I mentioned earlier this month that I have a new laptop and that I had to learn new photo editing software as a result. That's because the laptop isn't actually a laptop; it's a Chromebook, which works entirely in the Cloud, so everything you do is in the Cloud, from storing photos, to making spreadsheets, to watching movies, to well, anything. This is only possible these days because of all the apps available now and the storage space one can purchase from Google and other services. I'm totally in love with this little thing. First of all, it was far less expensive than a full computer.  It's very slender, it's quick, and unlike a tablet it has a generous keyboard and a screen that seems pretty full size. It's extremely lightweight and has terrific battery life.

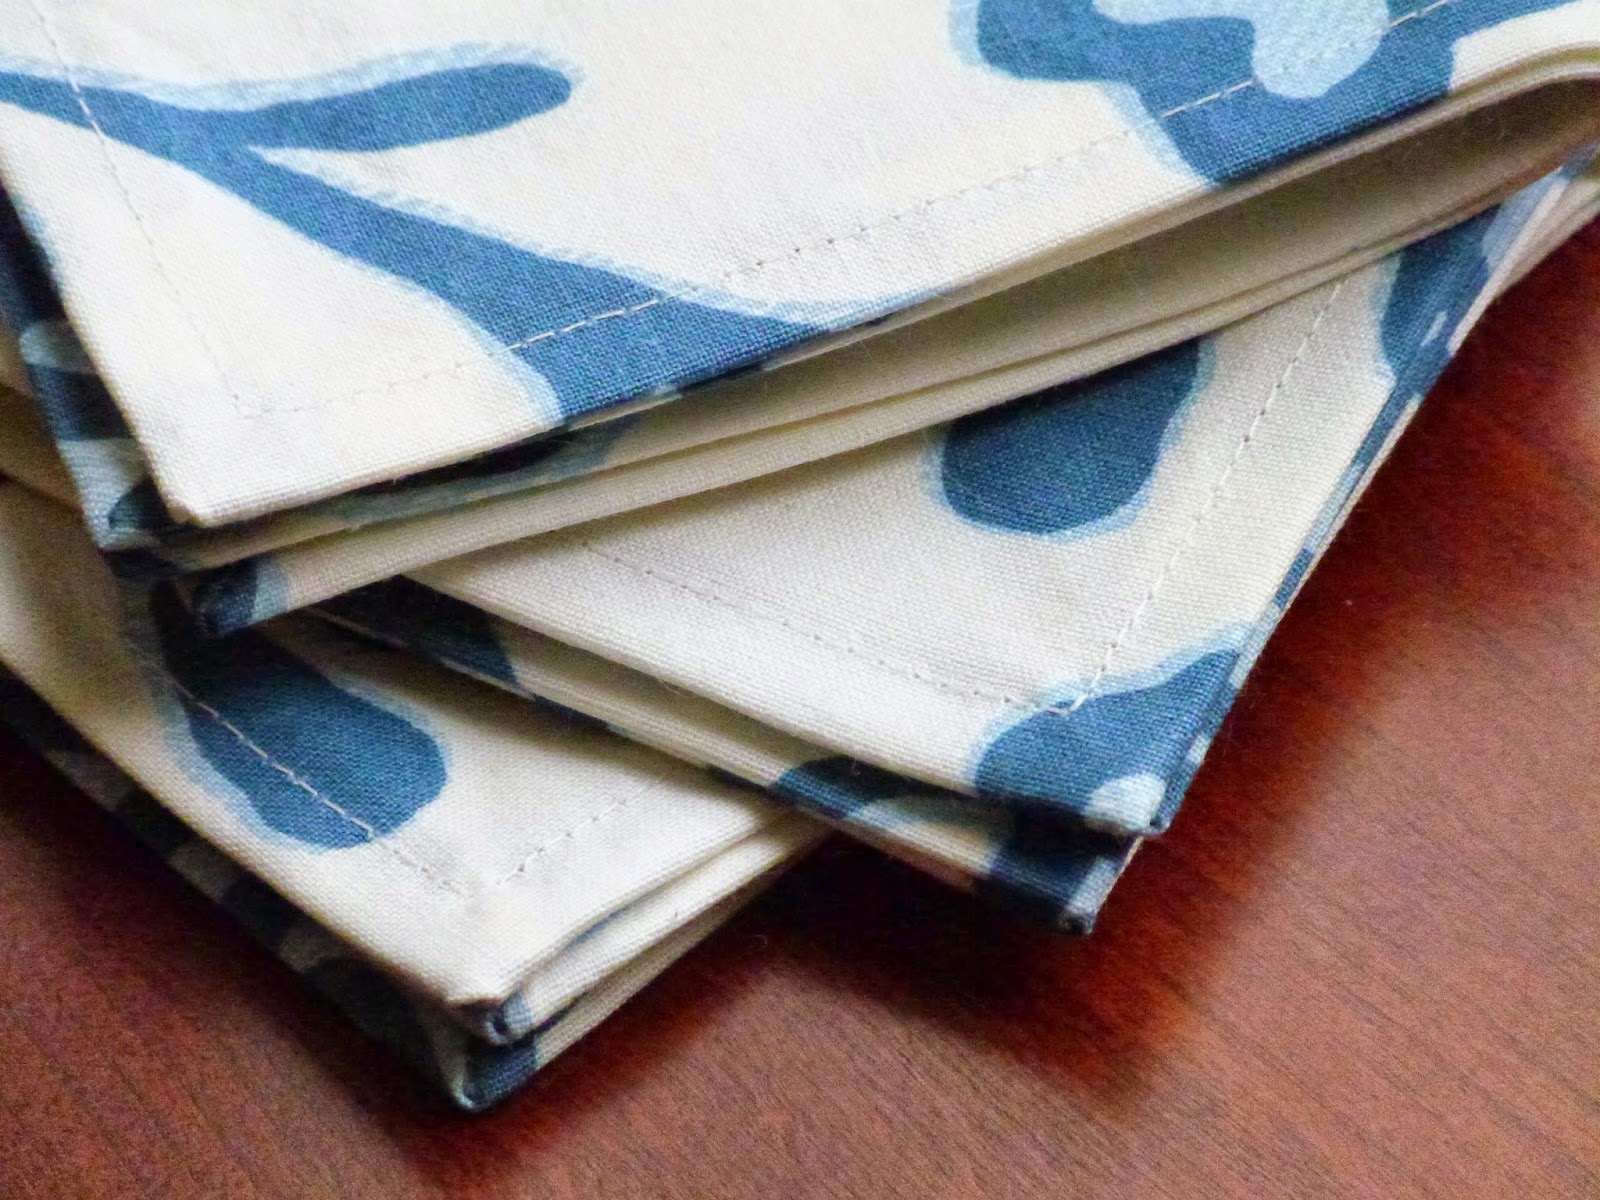
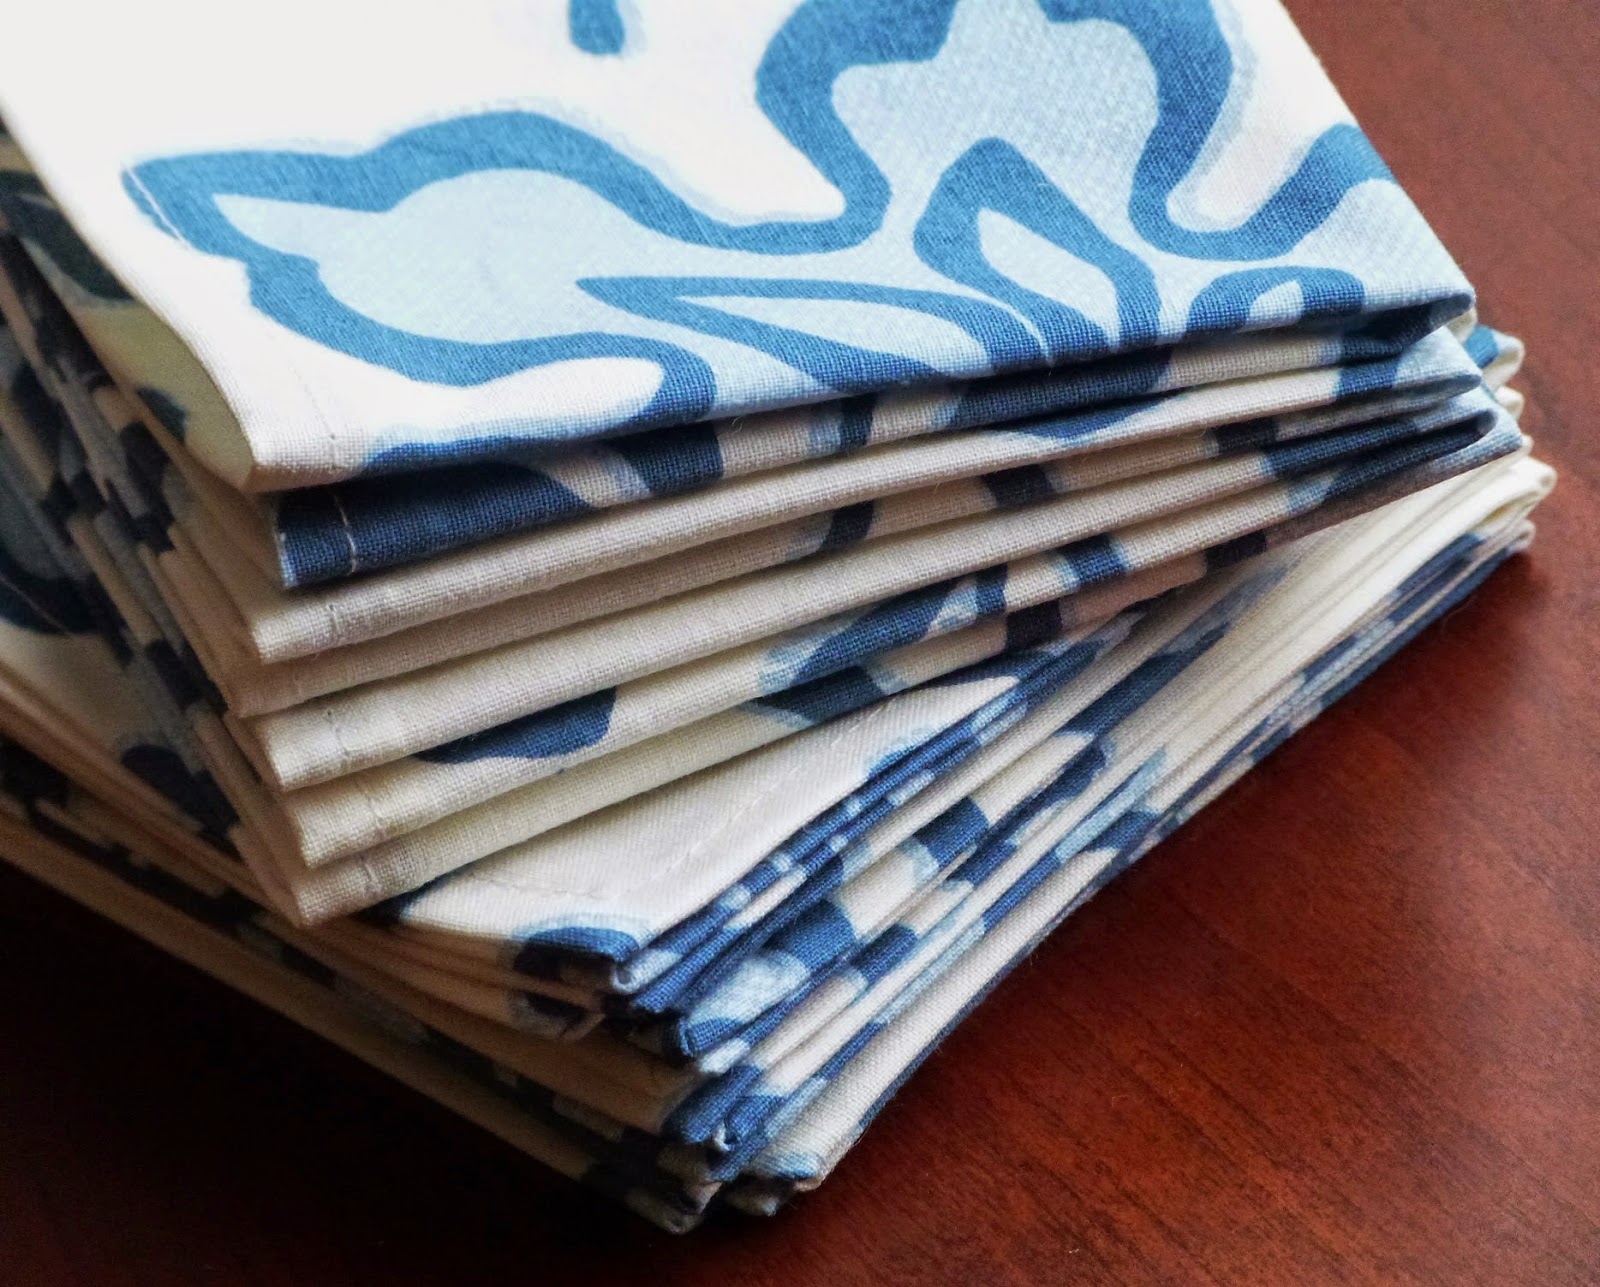
Some cocktail napkins in a photo stored in my web album in the Cloud. 
But enough with the advertising. The one major hurdle I had to get over after purchasing it was the photo issue. I take photos on my camera and in the past have uploaded them to my hard drive and then worked with Picasa to edit them. I deleted the ones I didn't plan to use, stored the rest in various folders on the computer, and then added them to my listings in the Etsy shop when I needed them. I could also insert them in a blog post, email them to friends, and everything everyone is already familiar with, though it took a few clicks to do each one of those things. The Chromebook cannot do that because there is virtually no storage space on the machine itself. There's no hard drive. So I had to learn a completely different storage method and a new way to edit them. It took me a while to buckle down and do this, but I am so glad I finally did!

Another cocktail napkin photo.
Naturally, Google came to my rescue (yes, they do seem to own me now). With Google+, Google's answer to Facebook, I can still take photos on the camera and still upload them via the Chromebook, but now I save them in my Google+ page. No one can see them unless I choose to share them, and I can still view all of them easily or put them in different files if I want to get more organized. The fun part is that the photos now all work seamlessly with Blogger, with my phone, and with the G+ editing program. I don't have to copy anything anywhere, and nothing will ever get lost or destroyed if my computer bites the dust. On my phone yesterday I was able to use Etsy's  "sell now" feature, which allows for in-person sales to be recorded in the Etsy account. I could add a photo of the item I sold right from the phone to the receipt on Etsy for the sale. Very slick.

The editing program on Google+ isn't anything fancy, but it's free and I have found it does everything I need, plus a fair amount I don't at the moment. My biggest photo problem is with lighting, as the windows of opportunity for good lighting in my house are quite small. The house was not designed to be a photo studio. I'd love to take more photos outside, but for a good five months of the year it is just too cold to do that. So the editing program on G+ is pretty good with fixing my lighting problems while also being quite fast and nowhere near as involved as the fancy programs like Photoshop that real photographers use. I really don't need all those minute fixes you can do with Photoshop, and I certainly don't have time to learn such a complex program. Plus it costs hundreds of dollars, and I prefer free.

The last one, edited with one click to "Moody." 


Saturday, March 14, 2015

What a Mess!

Another thing I accomplished in February was a complete clearing out of my fabric scraps. This is a photo of a very small portion of the scraps that have accumulated over the past couple of years. The pile was about the size of a large dog crate, or a washing machine, or you could also say that it took up, when dumped out of its containers, most of the floor space of my studio.


For three days or so I ironed the larger pieces and stacked everything by color. I snipped off any teeny pieces and stuffed them separately into a bag. I then brought all the stacks of nicely ironed pieces as well as the bag of teeny ones to HG's school where I am hoping some people will find them useful for various handwork projects. You can see below that the entire stack of red and pinks was brought down to a manageable six or so inches high following the ironing.


I was so pleased to finish this task. What an accomplishment. It allowed me to organize my fabric closet so that I can find everything else more easily now that things aren't buried under heaps of unruly cotton pieces. I did keep a fair number of these scraps but they all fit very nicely into a small plastic bin. And I vow not to let this get away from me in the future! 

Wednesday, March 11, 2015

Gifts for French Babies


At the beginning of 2015 my mother commissioned some gifts for family members in France who recently had babies. I made a yard-square baby play mat with an applique bird and a bib to match for the one not yet born, and a toddler purse with matching snack bags for the slightly older one. I decided to try to make the play mat with piping along the edges rather than with quilt binding because I like the way a thin strip of piping frames and sets off colors in a piece of fabric.

The play mat and bib are both padded with undyed cotton batting, the kind one would find in a handmade quilt. It was difficult to line up the two outer layers as well as the batting in the play mat because it is so large. I think a normal person would just stick with quilt binding, which goes on after all three layers have been stitched to each other and hold firm. Piping goes on before that step and requires turning the piece inside out as well. While the play mat came out great, it was hard to prevent puckering and wrinkling!

For both these items the side with the applique is made from a cream colored cotton twill and the patterned side is a fabric called "Birdsfeet" by Balanced Design. Balanced Design is a small textile design firm in Providence, Rhode Island, very near me! Melinda Cox started Balanced Design in in 2002. Her goal was to create a line of products that would be modern, with rich color, and fun, but one that would also be "green" and USA-made. Sustainability is paramount in her choice of materials and dyes, and she hand draws her designs as a first step in the process. Many designs are inspired by the work of other artists such as Alexander Calder and Morris Louis. Cox’s work has been featured in several national and international publications and on TV. I really like her ideas and I've purchased several yards of "Birdsfeet" in the pretty blue you see here and a salmon pink as well. The fabric is printed on a mid-weight canvas, which is great for a play mat and bib combo!

My new rocketship machine does beautiful applique stitches!

I designed the bib to be fairly large for good coverage and to accommodate an older baby or toddler. The indentations you can see on the left and right of the bib are at just the right height for the child's arms and shoulders so the bib does not get all bunched up in that area as the child moves.

In order to do this project I needed to research and test out snaps. I decided on resin snaps which require a special tool to apply them. I've found these snaps to be quite durable and easy to open and close, but they do require testing on identical layers of fabric to make sure you've selected the right size. They are washable at hot temps, which is good for a bib and other baby applications. The company that makes the ones I purchased is called KAM snaps.

I'm looking forward to making more bibs for my shop. I'd like to make play mats too but I need to perfect the method. My mom has already asked for another set for another family baby arriving in June, so perhaps I'll try the traditional binding route for that one. The package with these goodies has arrived in France so I look forward to hearing how the families like their gifts!

The playmat and bib together.

The bib is reversible and quite substantial. I don't think many messes are going to leak through. 


Sunday, March 8, 2015

My New Favorite Fabric Combo Strikes Again!

A few days ago I sewed up this baby, which I love, love love.


This is a case for my new Chromebook. A Chromebook, which is far, far cheaper than a new laptop, requires the internet to do anything. It's entirely Cloud-based and has almost no storage space or programs. Everything it does, from photo management to playing movies to writing emails and dissertations all happens with Google applications and everything you do is saved on the Cloud. I'll talk more about the new photo editing software I am using since getting the Chromebook, but for now let's get back to the case.


The red checkered fabric is from Hable Construction. It's my new favorite. And I particularly love it when set off with yellow. Hable is actually two sisters who hail from Texas. They named their business after their great grandfather’s Texas road construction company. One sister designs while the other manages the business. All of their textiles start as drawings or paintings which are later transferred to the silk screens used in the printing process. Their designs are fresh, contemporary, and full of color. Their fabrics appeal
to me because of their bold, simple designs that have the playful look of hand drawings combined with colorful palettes. Hable has collaborated with such companies as Pottery Barn Kids, Garnet Hill, and even Volkswagon.

Although the red doesn't really need any more joy, I like how the nice little stripe of yellow brings additional cheer to the case. The fabric itself is sailcloth, which is kind of a lightweight cotton canvas, so it is quite sturdy and perfect for any kind of bag or storage item. And how do you like the nifty snap? Way better than noisy velcro. Plus snaps are fast and easy to put on and I think they might even last longer.

On the inside of the flap I put a quilting-weight yellow fabric. The case is interfaced with a fleece fabric to add stability, and I included another cotton lining on the inside. That makes it easy to slide the computer in and out. It's quite a hefty case and I was concerned that my machine would have some trouble sewing portions of it, but it did great with the walking foot and a denim needle. 

I expected areas like this with all the fabrics coming together to give my sewing machine grief,
but she plowed right through!

The bottom corners are just sewn shut with the rest of the bottom hem. That makes for the little dimple and the soft curve at the bottom. I'm not sure I love this and might try a boxed corner on any future cases. I don't know how the significant bulk of the seam allowance in a boxed corner would turn out, though, even if I cut off the excess. 


My computer is very happy there and I can't wait to show off the case at a coffee shop or the next time I have to remove the computer at airport screening. 


Friday, March 6, 2015

What I've Been Up To

What have I been up to? Most recently, shoveling snow. But it's been a long time since I posted. Yes, it certainly has if you're looking at the calendar, but it has been so busy I just haven't been keeping up, and it does not feel like several months have gone by since I last posted. Here are some of the things I've done since October.

In mid-November HG's school held their annual Holiday Faire, at which I consigned 40 or 50 items. Naturally I had planned to write about this wonderful event BEFORE it happened, but I did not get to that. Between Halloween and the Faire I madly sewed all those items, and also kept in mind that I would need to have additional things available for the Etsy store for Christmas and Hanukkah, so I tried to get ahead on those too.

Starting just before Thanksgiving customers began placing orders for Christmas and Hanukkah. This year was incredible; about 70 orders came in for the season (that's a huge amount for me in such a short time period), and I also made presents for my family. It was pretty nuts around here for a few weeks.

Right after Christmas my grandparents' house in rural Maine sold, so I drove up there and spent a weekend packing up and moving all the books that were still in the house, removing mattresses, and cleaning. I don't remember now how many boxes of books I (and the movers; thank goodness for the movers!) carried around. Something like 50. It was a gigantic relief to have that all taken care of during school vacation, but the speed with which it needed to be accomplished and the coordination required was a bit rough.

In January I rested! I closed the Etsy shop for the entire month and spent the time trying to do tasks that had been put off, resolving various other issues that appeared, and holding down the home fort while husband was on business trips. Incredibly, I also received orders while the shop was closed, so I did make those items. Who wants to wait a month for a shop owner to get back from vacation??

I took this photo this morning, after we received another 8-10 inches of snow yesterday. 
That brings us to February. The story of February is snow. As most people know New England has been hit by more snow this year than has been recorded in any previous year, ever. It's a lot of snow. We've been shoveling at least twice a week and entertaining HG at home since school has been closed quite often. On some of the days when school has been held I've been substitute teaching. So although my shop has been open I have not spent much time on it, and I haven't been writing here either. I find certainty makes planning easier (don't most of us?) so the difficulty of knowing each day whether school will be held the following day has made it hard for me to plan out new projects. Some have squeaked through, though, and I'll post about them next.

Friday, October 31, 2014

Our Halloween Gnome

We have our very own woodland gnome. Here she is: 


Inspired by her role in her school's Michaelmas pageant (here is a short introduction to Michaelmas), HG decided to be a gnome for Halloween. She and her classmates all sewed their own wool felt hats for the pageant, so she already had that part of her costume complete. Since she wanted the tunic to look the same as the one she wore at Michaelmas, I borrowed the one from school and made a (very rough) pattern from it. How did I do that? Well, I took a lot of pictures, traced the basic shape of the tunic, and then read through a similar store-bought pattern I already had to make sure I sewed  the pieces together in a sensible order. When it came to drawing out the actual pattern, I made one pattern piece. For the front sections I cut out one piece of fabric using one side of the pattern and then the other piece using the reverse side. For the back, I folded the fabric in half before cutting along the same lines, so I had one piece that extended from one shoulder to the other. Make sense? You'll see there is also a collar of sorts with buttons attached. This I did completely free hand, no pattern, no measuring. It worked well enough, though the two sides are a little bit different. I am not one to go to extremes in Halloween costume making, so if it's not perfect I am not bothered.


We searched high and low for the perfect fabric, and in the end we had to go with polyester velour from Joann Fabrics which wasn't ideal but it looks great. I don't like working with synthetics because they feel pretty yucky and they are always causing some problem or other for the sewing machine. Plus you really can't iron them, which makes sewing just that much harder, though the rocketship was able to overcome all the issues it was presented with. We also did a thorough search for just the right wooden buttons. The sisal rope was easy to come by at our local hardware store. 


HG did not have school today (the teachers always schedule fall conferences around Halloween so the children are not bonkers in school), so together we made her loot sack out of some of the leftover velour. Keeping with the rustic gnome look, we used twine for drawstring. I know it looks kind of small, but I assure you it held plenty of candy for one six-year-old. 


Here she is above singing the gnome song from the pageant, which is all about using our wills to work hard and overcome obstacles. HG also remembered that gnomes often carry lanterns, so she scurried off and brought outside the one she made a year ago for Martinmas (yes, another Waldorf school ceremony).


I like how we are able to incorporate HG's school life into our home and how all these celebrations are wonderful opportunities for creativity. What about you? Did you have a special Halloween this year? Have you ever tried to make your children's Halloween costumes?